 If you are someone who enjoys doing your own home improvement and you are working with electronics during the process, having access to a multimeter is an absolute must. There are going to be instances where you will need to be able to measure voltage, ohms and continuity and without an electronic multimeter, it will be difficult to determine just what you need to do. Here are a few tips for using your multimeter to perform home improvement projects.
- Understand your options – Multimeters are available in different types. These can run from the most basic to the most luxuries, which is also the most expensive. Unless you have highly advanced electronic skills and knowledge, a basic multimeter is going to be just fine and will have fewer features that you need to figure out.
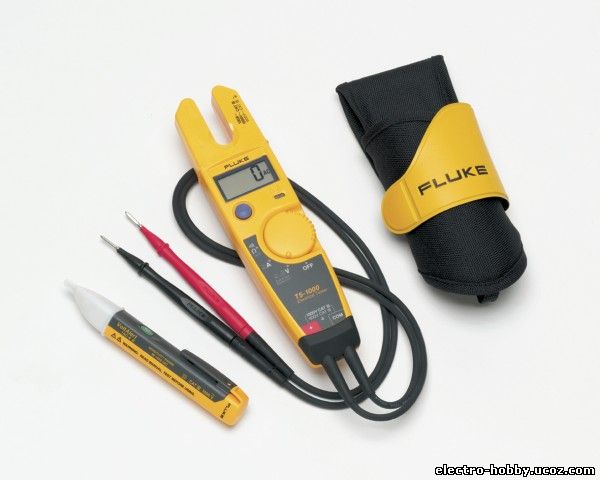
- Familiarize yourself with your multimeter – Take some time to examine the multimeter before you use it. When looking at the face of the design you should see three different things – dial, settings and lead ports. These should be color coded which makes it much easier to avoid mistakes when plugging in leads.
- Learn the dial settings – As you look at the dial, take notice of the symbols and numbers that surround it. You should see an arrow that points to the right with a plus sign beside it. This is the setting that is used for continuity. The "V” setting is used for voltage and the setting for ohms or resistance will look like a "0” with feet.
- Learn the uses of your multimeter – You can test a random electrical outlet to make sure that the multimeter is working properly. Use the "V” setting for this. Check to ensure that power is not flowing through any electronic circuits that you are testing. If you would like to test for a blown fuse, remove the fuse from the clamps and set the meter for continuity testing. Simply touch each end of the fuse with the meter’s probe and if the fuse is operating properly you should hear a beep.
- Test for amperage – When testing for amperage you have to be a bit more careful. This is a more complicated process and requires that you use more than just two probes. You can use a clamp add-on for amperage testing by plugging it into two ports that read "A” and "Com.” Clamp the tester onto the hot wire that you want to test or you can simply purchase a plug that includes a wire loop specifically designed to test amperage.
|


